Wednesday 28 November 2012

Pom Pom Garland DIY - Crafty Magic!

I often find myself making the odd impulse purchase on Ebay, some I regret and some I adore... last week marked the arrival of 600 10mm multicoloured felt pom poms, which I definitely adore and were a total bargain at about $30 including postage.

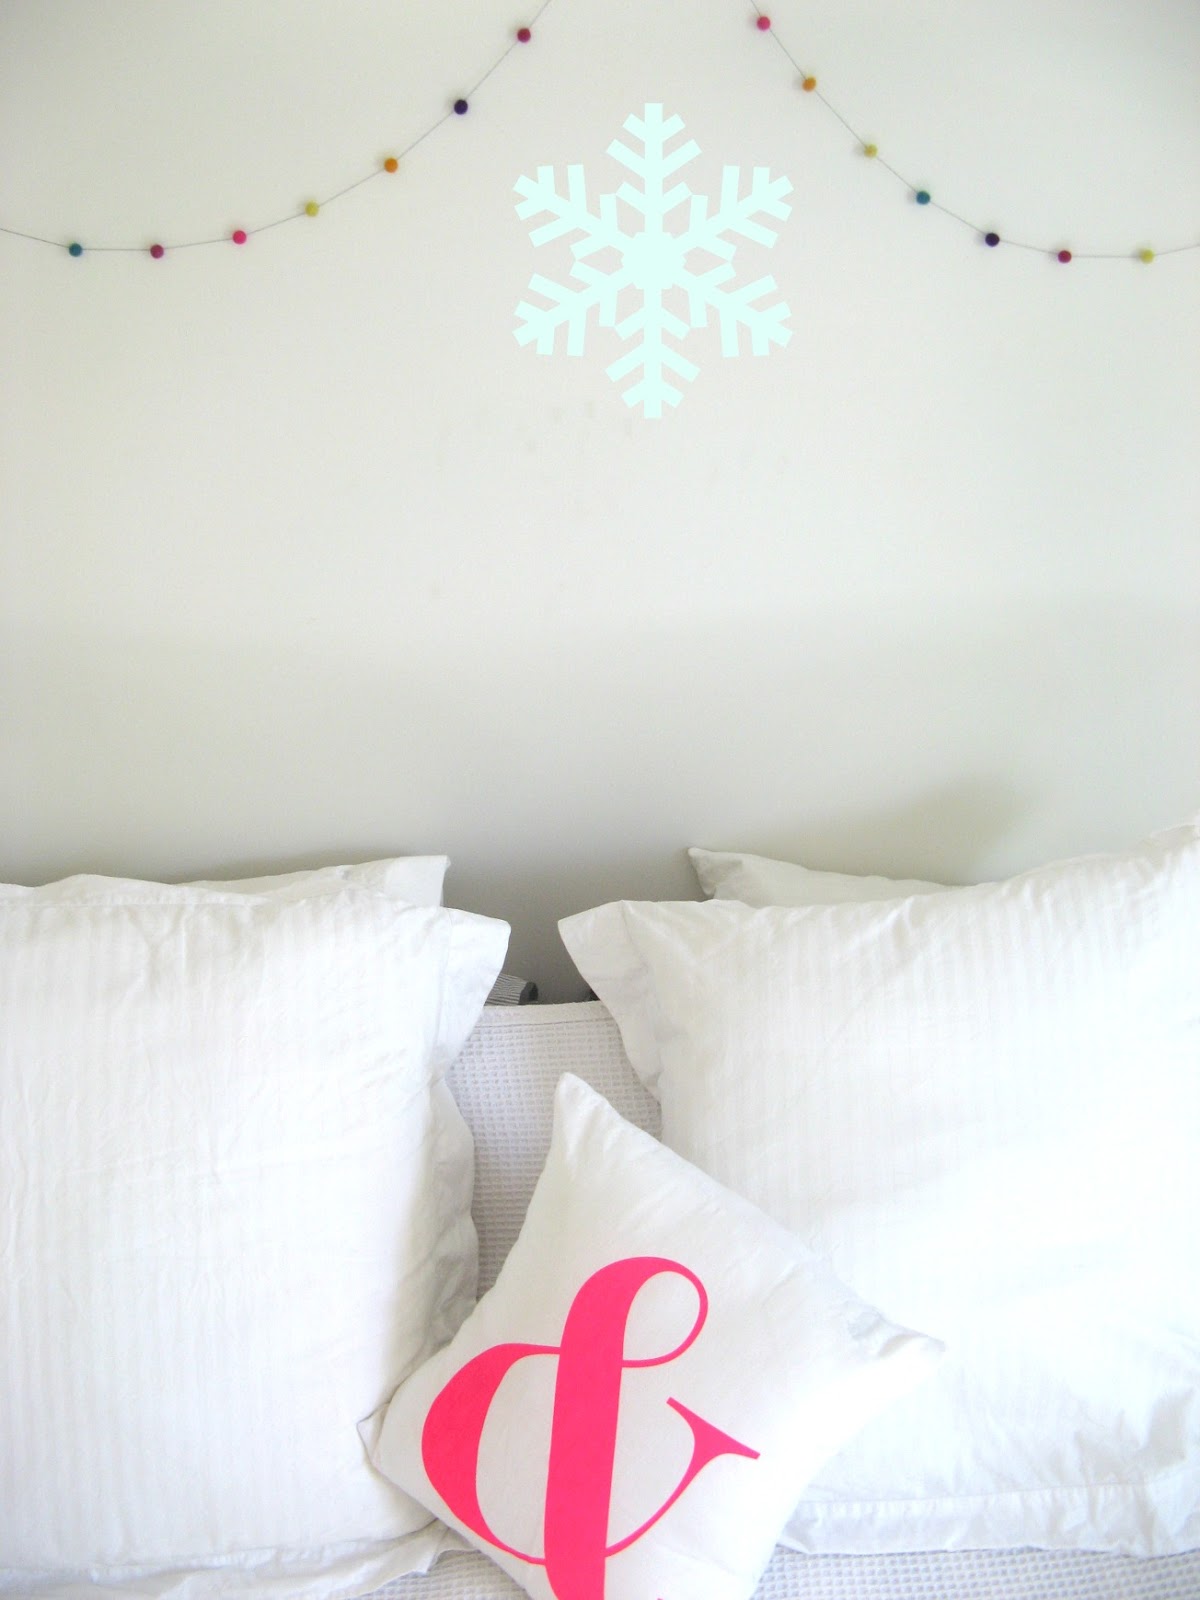
So I've been garland making like crazy and wanted to share my super easy, super quick DIY Pom Pom Garland tutorial with you all... these babies add a lot of fun and interest to any space and can be hung over your mantle or staircase or from vintage deer antlers or perhaps over the your bed as I've done...


Here's the how to

Materials
1.Needle
2.String - try to use a thicker durable string I used Scanfil topstitch in black
3. Pom Poms for a 1 metre long garland I used about 55 10mm pom poms spaced about an inch apart

Directions (refer to images)
Cut your string to your desired length and thread your first pom pom (see image 1) thread it all the way to the end of the length of string (image 2) and secure it in place as seen in the image marked 3.
Then simply thread your other pom poms in alternating colours (image 4) and space them out as close or as far as you like as seen below.

 once you have finished spacing out your pom poms secure the last pom pom in place using the method shown in image 3 above and you are done!.

These garlands would also look fantastic draped around the Christmas tree


FYI - The hot pink ampersand cushion is a new purchase hand made by Shannon Lamden of Aunty Cookie and screen printed in Northcote, Melbourne - I love her range, you can get one here or check her blog here... you will love everything you see, I have no doubt!.

Sharing with

lil'luna_linking_up_button_2012_09_25
here

 and


here

Sunday 25 November 2012

Petal Garland - Revamping a former vintage buy

With Christmas around the corner and summer in full swing I wanted something bright and cheery to add to my home and found the perfect addition in this little lamb petal garland by Down to the Woods. Sometimes simple little additions can make such a difference to a space and this garland has done exactly that... I originally thought I would drape it around the Christmas Tree but it has found its place on my vintage tripod lamp. In the spirit of felt decor I've also made some bright mini pom pom garlands that I will post in a few days showing you how to create one for your own home, it is super easy!.


Saturday 24 November 2012

Vintage Revamp - Industrial TV Cabinet

A few weeks ago or perhaps a month ago I posted about wanting to paint my vintage TV cabinet... I found this piece at an industrial warehouse in Melbourne and it fits everything in it from DVD's to my husbands Wii games (yes he plays wii!) and beyond... although I desperately wanted to paint it white Mr.B begged me not to and while I'd usually just go ahead and do it ;-), I thought I'd honour his wishes this time!!.

So this was the compromise....


I bought a chalk pen (which I LOVE) for $3 and revamped the doors with a free hand fish scale pattern that has added a bit of dimension to its otherwise red block shape. I think I'll change the pattern in a few weeks... thinking a lattice Hollywood Regency inspired pattern for next time.


This was the fab product used - chalk maker by Mont Martre - removable, weather proof and leaves the look of chalk lines but functions like a felt tip pen.... you will usually see them used in a lot of cafes and shop windows. I'd always spot test your surface first to ensure complete removability prior to drawing on a design.


Have a great weekend
xx

Saturday 17 November 2012

Thrifting Time - Vintage Kitchen Canisters and Tins

This weeks thrifty vintage finds are all kitchen related... I love old vintage canisters and tins, to me they are kind of like works of art!.


I think these guys are a bit rusty for edible items but I though they could be great in the laundry!
$8 for the pair - thrift store


Pretty sure this Weet Bix tin is a revived design released as a limited edition not so long ago 
$5, Antique Center.


$3 thrift store buy.. such a cute little tin!

Have a great day!
xx

Wednesday 14 November 2012

DIY Christmas Decorations - Simply Made Doily Lace Clay and Salt Dough Tutorial

With Christmas around the corner I thought I'd make some decorations for friends and family and have devised a simple DIY craft tutorial using both a salt dough and clay base.

I used vintage doilies to create the lace print


I found the air dry clay much easier than salt dough overall, no mixing, dried snow white and set within 24 hours as opposed to the salt dough which is still drying 4 days later and will need to be painted, but I did love the idea that I could use household ingredients to create these decorations.  

 Here are the instructions for both techniques including how to create the lace print using vintage doilies or lace depending on what you have around the house... 

Air Dried Clay Decorations 
I used White Fimo Air Basic by Staedtler

You will need
 (I made about 100 small decorations with this quantity depending on your cookie cutter size)
500g air dry clay
rolling pin
baking paper
cookie cutters
straw or chop stick
doily
twine or string for hanging

To make the doily clay just roll out your clay, place the doily on top and roll over again then gently peel the doily off and you are ready to start cutting your ornaments.


Using a chop stick or straw make a hole in the clay for hanging, just make sure its wide enough to fit your string... I bought twine but sadly it didn't fit so I substituted with white yarn.


You can also use letter stamps to create extra details


then simply leave to dry on baking paper for 24 hours and that is it!


Salt Dough Technique

I actually made half quantity of this recipe and that made about 50 decorations so the amount below would make approximately double depending on the size of your cutters

You will need
1 cup salt
2 cups all purpose flour
1 cup water
mixing bowl
rolling pin
doilie
straw or chop stick
cookie cutters
baking paper
Mix your ingredients and knead to form a smooth dough then roll out, cut out your shapes, then pierce with a chop stick and leave to dry for 3-4 days.


Hope you find this useful!
Here's to a wonderful festive season!
xx


Also sharing on

Scandi Coast Home's gorgeous Saturday link party!


and
get your craft on

and

The Well Crafted Home


Saturday 10 November 2012

Vintage Thrifty Saturdays - ornaments a plenty!

A very happy weekend to you all!

I had a fun week of thrifting and found a couple vintage ornaments to add to the collection. 


This horsey ashtray was all of $5 at trash n treasure... I can't say I love the ashtray side of things but I couldn't say no to the gold paintwork.


old honey tin $3 thrift store Melbourne


 old padlocks, a gift from Mum.


Ceramic Garden Stools $40

Not a vintage buy but a bargain at $40 with a huge round of applause going out to the lovely Natalie of In The Night Sky who stumbled across these stools at the Reject Shop in Melbourne... I bought two for the courtyard and one to add to my brother's birthday present. They've just about sold through the lot but it's worth ringing around if you live locally and happen to want any. I should point out that the paint work on the top of my stools cracked in the afternoon sun so they are better kept undercover or inside.

Have a lovely day, hope you find some vintage treasure too!
xx

sharing on A Living Space

Wednesday 7 November 2012

Christmas Time - Simple DIY Gift Tags and Christmas Ornaments

Just stumbled across this fabulous DIY project and had to share... with the festive season just around the corner I'm am thinking about things I can make for Christmas. Every year my siblings and myself make a gingerbread house each, there are four of us so it kind of makes a small village effect when complete and this year I'm thinking I'll also make some Christmas decorations for friends and family. Thankfully pinterest pointed me in the right direction!.

I found this cute little DIY decoration/ gift tag via Marley and Lockyer pinned by - of easy wind and downey flake...

The pin actually said they were made from salt dough comprising of 1 cup salt, 2 cups plain flour and 1 cup luke warm water mixed together then rolled out and cut to shape... as it turns out they are actually made from ceramic and sold through etsy but I thought they would be fabulous for the other diy-ers out there who are also planning their Christmas crafting projects and could easily be made from salt dough anyway.


Gift tags made of Salt dough & then stamped. Made with 1 cup salt, 2 cups all purpose flour and 1 cup luke warm water.

Fabulous Gift Tags

Will post my DIY tutorial when completed... I will try both the salt dough and ceramic and report back on which I prefer... 


Oleander and Palm made these fab salt dough creations


Lovely