
The shade was already painted when purchased but I decided it needed something bold and eye catching in the form of chevron stripes so I DIY-ed it and wanted to share my simple how to...


Before - the shade was cute but I wanted something punchy!

Love how the facets reflect the light!
How To
Creating you own painted chevron lampshade is super easy... I'm a freehand kind of gal so I apologise if the rustic appearance of my stripes are driving you mad, as it does my husband.
To mark my chervon lines I used 3m painters tape left over from my DIY painted rug project
Frog Tape or cloth tape would also work, basically anything that has a good amount of glue to stick to the shade.
1. Place a cross over the top of the shade as seen below dividing in half horizontally and vertically this will form the template for your chevron V's.
2. Start at the top placing strips of tape in a zigzag pattern as deep or shallow as you like until you have completed the first row as shown below.
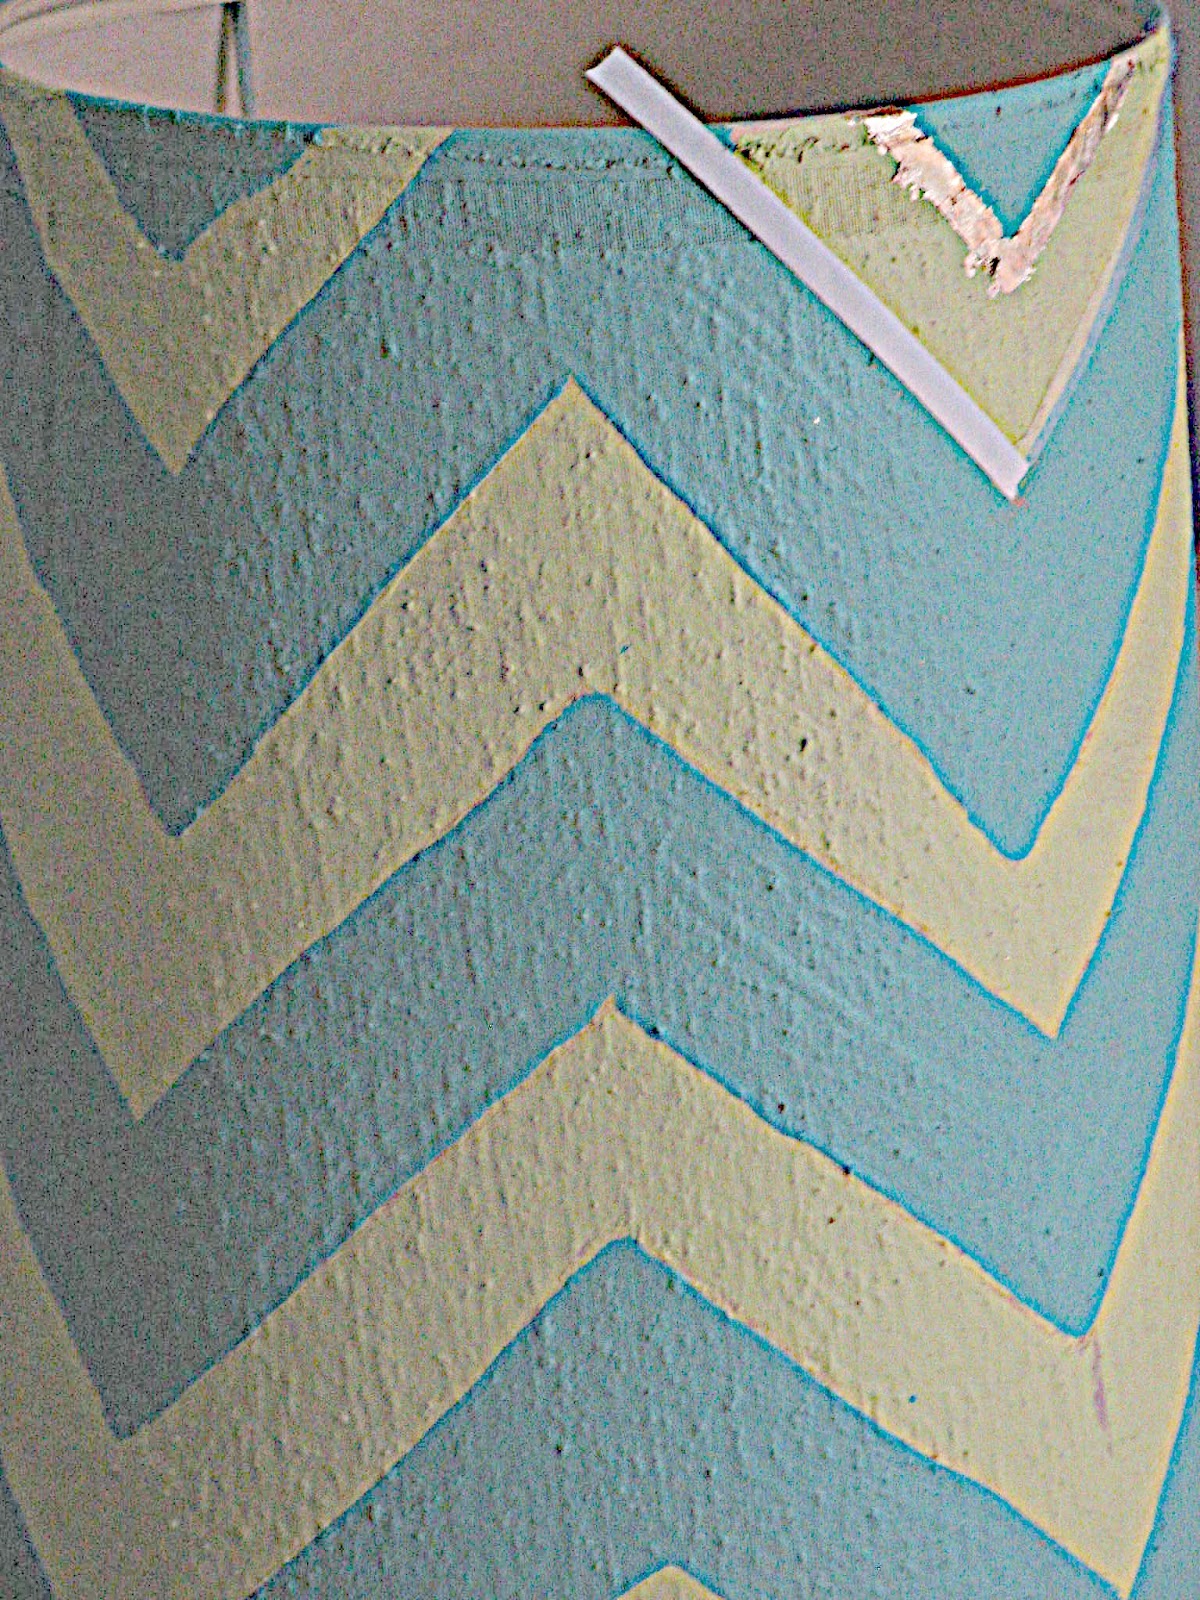
3 Using the first row as a guide space out the rest of your rows with tape... I tried to stick to a 1.5" gap for my shade.

4.Once you have finished taping prepare your paint and work surface and paint away, then leave to dry out before removing the tape.

I got impatient and peeled the tape off too soon! Lucky for me I'd already planned to add a contrast colour so I painted the blue stripes by hand.


At this stage you are done BUT if you want a little more bling for your buck why not add some gold leaf for a bit of Palm Springs kitsch!.

To adhere the gold leaf I used double sided tape and a small paintbrush.
Voila!


My shade could do with some trim added to the top and bottom, when I find the right one I think I'll add it.


xx
Great job on the lampshade. It's really beautiful.
ReplyDeleteThanks Dana so lovely of you x Tina
DeleteJust love the lamp, and for $30 - what a bargain! Good to see another Blue lover too :-)
ReplyDeleteHey Jen,
DeleteI couldn't believe my luck for $30 so glad you think it was a bargain too... Blue really is one of those colours that just speaks to me - it just works every time, doesn't it!. x Tina
Hi! Just found your blog. Love what you did to the lamp! I am loving blue more and more now...(see my post on blue ceramic mason jars!) I am your newest follower. I invite you to visit my blog if you have a moment!
ReplyDeleteHave a wonderful day! -Khammany
Khammany it is lovely to meet you and I'm following you back, love your blog and the mason jars!. Thanks so much for stopping by xx Tina :)
DeleteHi! Thanks so much for visiting me and following! I'm glad you liked the mason jars!
Delete