Showing posts with label New Years. Show all posts

Friday, 9 January 2015

Hello 2015!!! Better late than never - right?

Hello again!! Happy New Year xx

Thrilled to be back kicking of the year with a small recap of my festive season fun. I can't believe we are right into the swing of the 2015 already but I'm looking forward to it and can feel this year will be fab fun!

I've mentioned this a few times already but my year on Instagram has really changed my focus. I've met so many amazing creatives over the last few months and spent a lot of time flat laying, styling, prop searching and crafting to keep my feed fresh on the page.

Instagram also explains the lack of contact made in this space of late which is crazy because I've never had as much visual material to share!

So here are a few pics from the last few weeks. Today I'm also mixing up a batch of DIY chalk board paint... I know it's been done to death but I adore the look of inky blue/black paint and my fire engine red cabinet really needs a facelift!
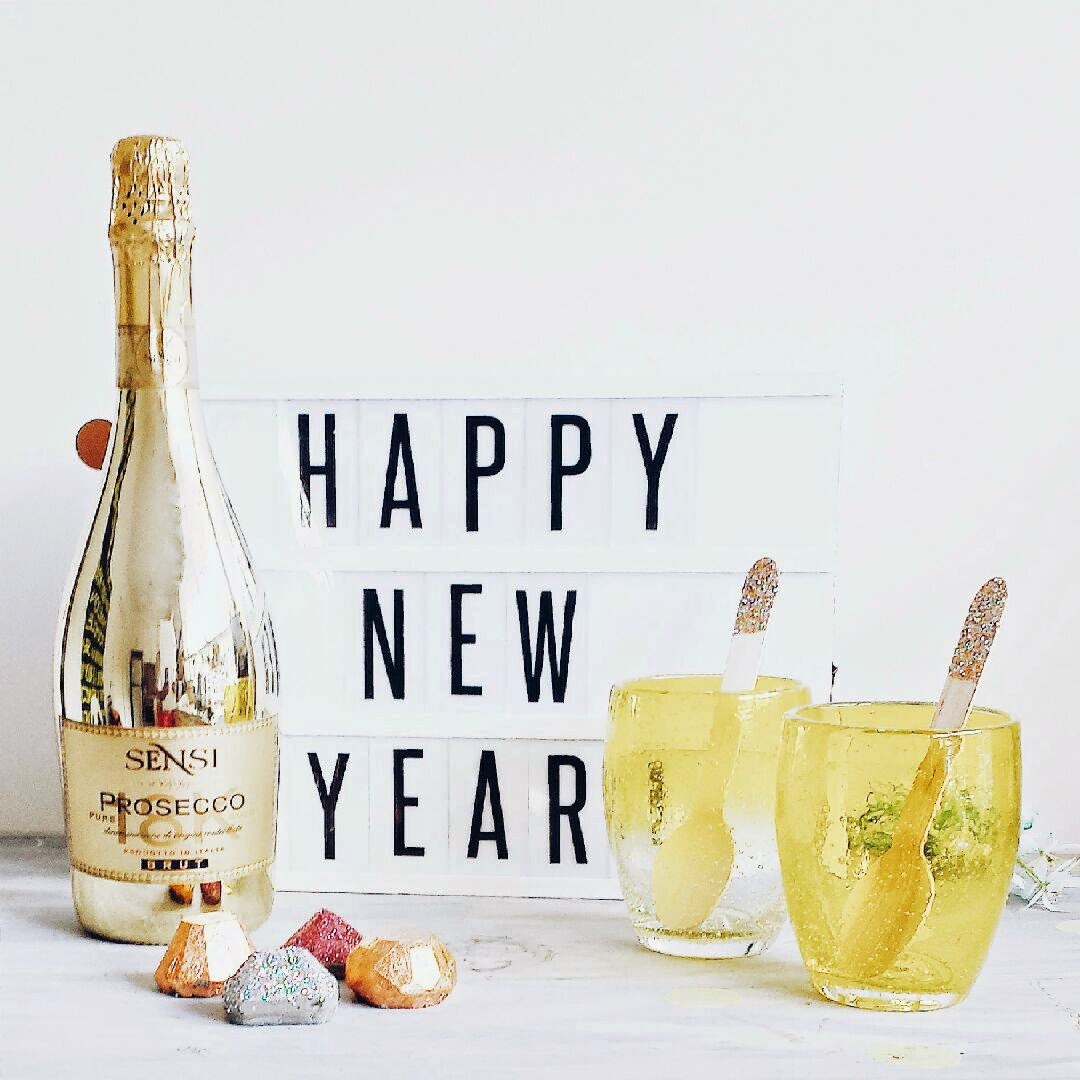

An early Christmas present - Typo Lightbox
 
 
My contribution to the annual Gingerbread house bake off! My sister made an Eiffel Tower and my brother a Hobbit's Den


My thrifted knitted nativity set - crafty Christmas fun!
 
 
Our heritage hydrangeas were if full bloom as I decorated the tree for 2014 and they teamed perfectly!
 
My outdoor Christmas table. We fed 14 family members and designed a fresh Mexican & Asian hawker street food menu. Will share food pics and a fab grilled corn recipe very soon!
 
 
Happy 2015
xx

Tuesday, 31 December 2013

Goodbye 2013!

Wishing you all a fabulous New Years Eve 2013!

Here's a little pic of our drinks station for the festivities ahead...fresh cut limes, coconut water slushies and a selection of mixers. 


and a bit of this at the stroke of midnight!
xx

Friday, 6 December 2013

DIY Ombre Glitter Champagne Bottle - How To Guide

I fell head over heels in love with the idea of covering champagne bottles in glitter when I laid eyes on the various visuals circling around Pinterest. My favorite version was originally crafted by 100 Layer Cake for their Glitter Themed Valentines Day Party and I wanted to try my hand at replicating and also sharing my "how to ombre glitter" champagne bottles with you today. This is perfect for festive season entertaining, new years eve parties, birthdays, weddings, engagements, hens nights, christenings, cocktail or tea parties etc etc!. It also looks super cute on little champagne piccolos.


You will need:
-Champagne bottles (you could also use vases or glasses)
-Glitter in three shades (I chose Gold, Pink and Silver/Hologram)
-Glue (I used PVA but most glues will work)
-Brush 
-Bowl


Start by preparing your glitters for sprinkling. To achieve a graduating ombre pattern we need to take our three colours and use them to mix together three transition shades. This is the best way to achieve a smooth and blended appearance (see above image). As you will see the first and last shades are just straight pink and silver hologram and the middle three colours are the mixed transition shades.

To make transition shades/colours:
-Take about 1 tsp of the darkest shade, in my case the pink glitter, and add about 1/2 tsp of the gold
-On another plate mix 1 tsp of the middle colour (gold for me) and add 1/2 tsp of the darkest shade
- Again on another plate mix the 1 tsp of the lightest colour (silver hologram) with 1/2 tsp of the middle shade
You will need more then this amount to cover the bottle but you can mix as you go and layer on top of the already applied glitter. If you feel you need a bit more of one colour added to your transition mix feel free to do so. Once you have your glitters ready you are ready to start encrusting your bottle.

Step 1. Soak and remove the label
Step 2. Paint with glue

Step 3.Starting with the darkest shade at the base start sprinkling on your glitter right around
Step 4. Once the darkest shade is applied add the next (transition) shade 
Step 5. Then add the third transition shade, brush the top part of the bottle with glue and add the 4th and 5th shades and leave to dry!. 
I used a very rough 1.5-2" space per colour as a guide with the largest space dedicated to the 2nd and 3rd colours.


xx
Cheers!

Sharing with